
The goal of yoga is to go beyond your thoughts and limitations by learning who you are and how to escape them. The capacity to enter any posture at any time may not be the end. Yoga’s postures provide a platform for an encounter with oneself. Yoga can, over time, help you develop unshakable strength that stems from and produces a calm and steadfast mind.
The sequence for the yoga student—especially a beginner—who wishes to increase strength is this one. The practise focuses on the fundamentals of learning to use your abdominals and draw power from there, finding stability in your shoulders, and continually returning to balance in your body and mind. It also includes alternatives for postures so that if you’re still getting used to bending your body into all kinds of shapes, you may start with whatever variation feels best for you. You’ll begin to feel stronger as you continue practising.
Yoga postures for strength include:
Sukhasana
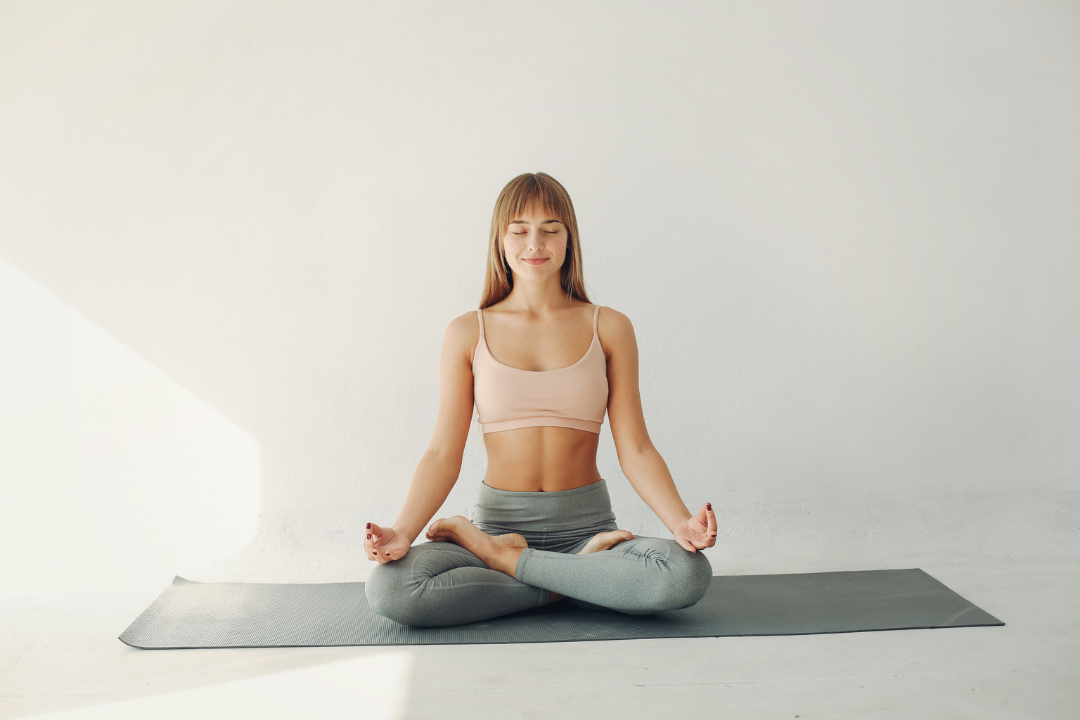
If you’re a first-timer, sit in a comfortable seated cross-legged posture. Try to maintain your shoulders over your hips and then let your shoulders relax away from your ears. Rest your hands on your knees. If you slouch forward or feel tense in any of those areas, sit on the edge of two folded blankets or a cushion at the edge of the mat. Close your eyes and focus on relaxing each breath as it leaves your body. To keep yourself occupied, count the breaths, in and out:) Hold your hands out in front of you with your palms facing down. Raise your chest away from your hips, but don’t hold your breath or become rigid. For at least 1 minute, stay there in silent meditation. If your thoughts wander, gently return them back to your breathing. Avoid making conclusions about yourself or your practice.
After you’ve done this pose a few times, your abs will get stronger and more hip opening will be possible. You’ll be able to relax your upper body. If you don’t need the blanket anymore, you can try it without it; however, some students and instructors find that having it there provides additional support.
Adho Mukha Svanasana
If you’re a novice, get down on your hands and knees. Bring your hands about shoulder distance apart and your knees hip-distance apart. Gaze downward to make sure your shoulders are over your wrists. Extend your fingers wide and press down evenly through both palms as you lift your hips up and back to straighten your legs. It’s fine to maintain any amount of bend in the knees. (If you have tight hamstrings, keep that bend.) Continue pressing down through the tips of your index fingers while straightening them. The Downward-Facing Dog form is the basic shape shown here. For 5 counts each breathing.
When you’ve done this posture a few times, gradually straighten your legs either more or less. Allow your heels to touch the ground but don’t push them down hard. Draw your shoulder blades apart and tuck your chin slightly toward your thighs or belly. Try to draw your knees closer to your hips and press down on the bases of your big toes with the quadriceps. Draw your lower belly in and raise the pelvic floor. Your body will form the shape of an inverted V, according to this posture. There are a lot of indications for Downward-Facing Dog in that sentence alone. You may concentrate on one at a time and allow yourself to discover the rest as you go along. For 5 slow breaths, stay here.
Vasisthasana
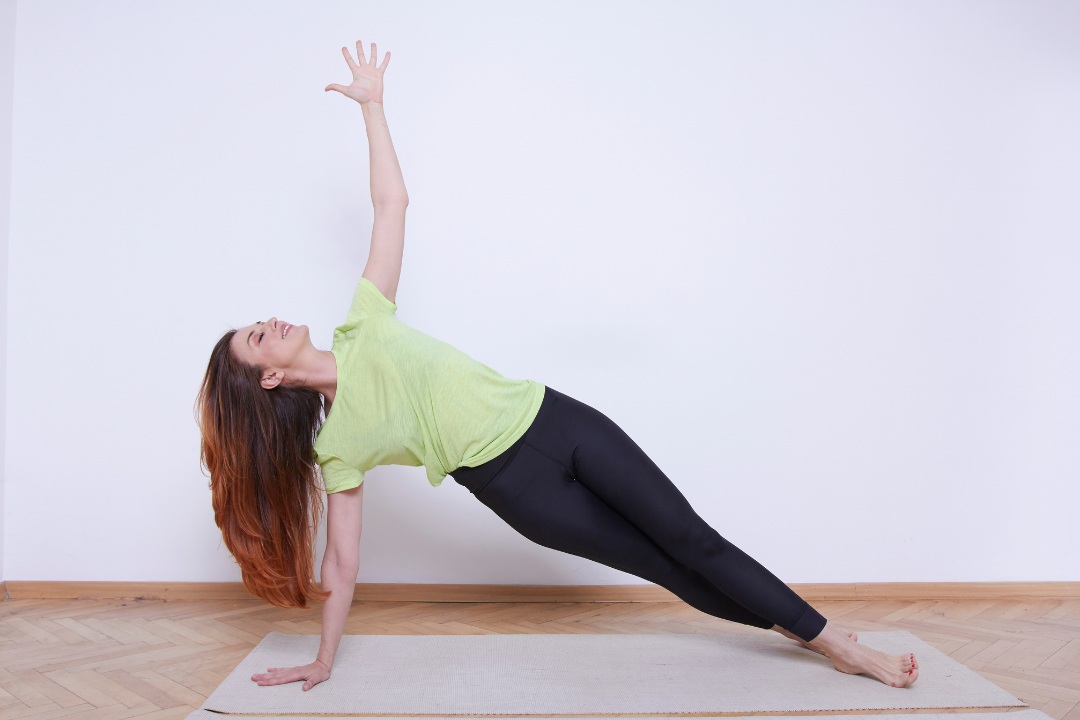
If you’re a beginner, set your shoulders back and drop them down until they nearly cover your wrists. Put the majority of your body weight on your left hand. Begin to stack your right hip over your left by rolling onto the outer edge of your left foot and the inner edge of your right foot as you do so. Your feet will continue to be about hip-distance apart. Bring your right hand to your right hip if possible while keeping the focus on the mat to assist with balance. Place your palms together in the prayer position on top of each other, with your right palm facing toward you. Tuck your left hand beneath it and press firmly down through it. Keep your back straight and long rather than arched or rounded while pressing down. You’ll wobble; this is normal. When you’re ready to switch sides, slowly raise your gaze up to the ceiling until you feel balanced again. Rest for 5 slow breaths before lowering your right hand to the mat, then knees, and concluding rest on that side as well.
After performing this posture numerous times, stack your right foot on top of your left. Draw both toes toward the bridge of your nose by flexing both feet. With a strong press from your left hand, keep staring straight and down. If you’re feeling confident, reach out with your right arm toward the ceiling while maintaining your gaze steady and down. After that, raise your head to the right until it reaches near the hand.
Forearm Plank
If you’re a beginner, lower your knees to the mat as you leave Down Dog. Bring your elbows to the mat, positioned directly beneath your shoulders. Your forearms should be parallel to one another and your palms should be face down. Spread your fingers wide and draw your shoulder blades away from one another. Press down through your shoulders and elbows while keeping your chest broad for 5 slow breaths.
This is a great seated posture for beginners. Keep your elbows at your sides, with your palms facing down. You’ll end up with your hands and forearms parallel to one another, with your palms facing down. Engage your abdominals by drawing in toward your lower ribs. Pull your legs closer to each other. Stay here for 5 peaceful breaths before returning to the start position. Repeat 3 times.


